-
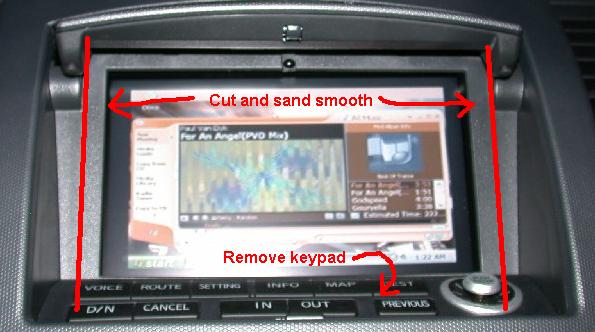
[...Remove the center dash and remove the display
housing from the center dash...]
-
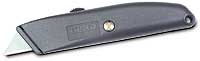
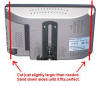
Cut out the display housing as indicated above using a
utility knife with a scoring blade
-
Sand the cut display housing to a smooth fine line
-
Measure the width of the new display housing (aka:
the needed width of the screen)
-
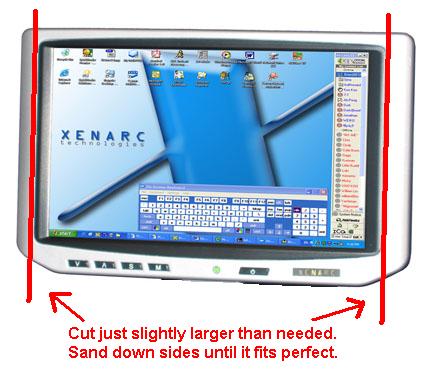
Disassemble the Xenarc screen and remove all
electronics from the casing
DO THIS AT YOUR OWN RISK! You are obviously voiding the warrantee.
-
Measure and mark the center of the Xenarc display
area.
NOTE that it is offset slightly from the center (the right side is
wide than the left).
-
Using the screen's center mark as a guide, measure
and mark the width needed to fit the dash.

-
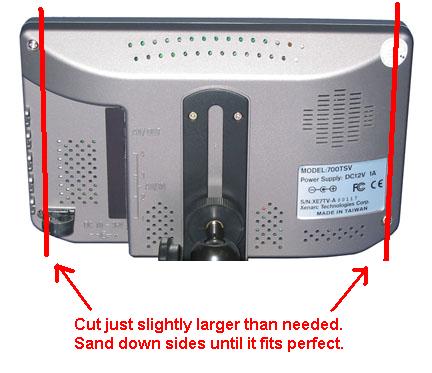
Evenly and smoothly saw 1mm to 2mm to the OUTSIDE of
the marked lines
-
Attempt to fit the sawed case in to the dash
-
[Mentally] Note how much clearance it needs
-
Sand down the display edges until it will fit
perfectly in the dash.
You may have to repeat the measuring and sanding process several
times.
-
[...Prepare the mounting block/bracket that the
Xenarc will mount to...]
-
Reassemble the Xenarc screen
-
[...Mount the Xenarc to the mounting
block...]
-
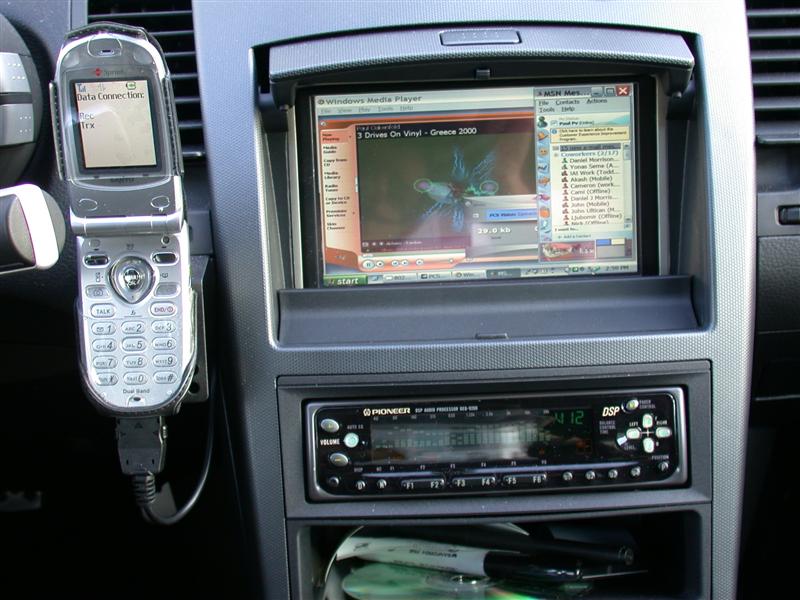
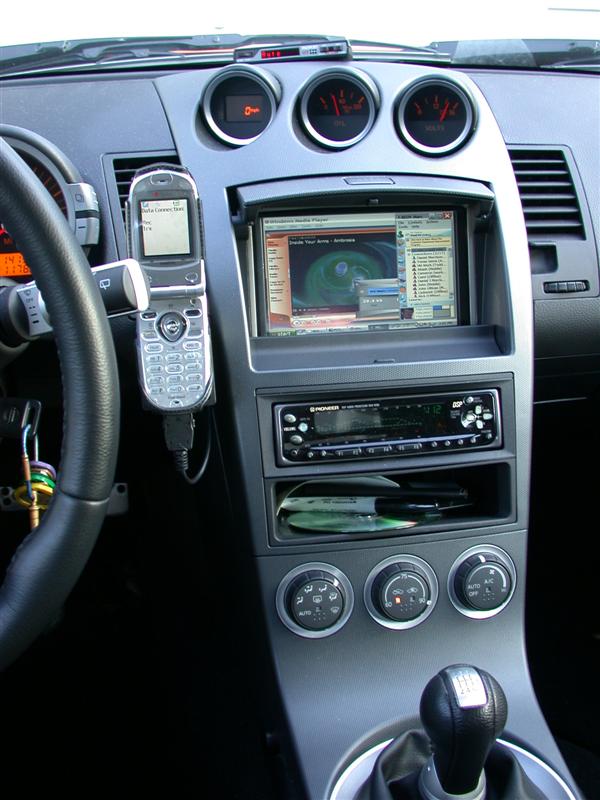
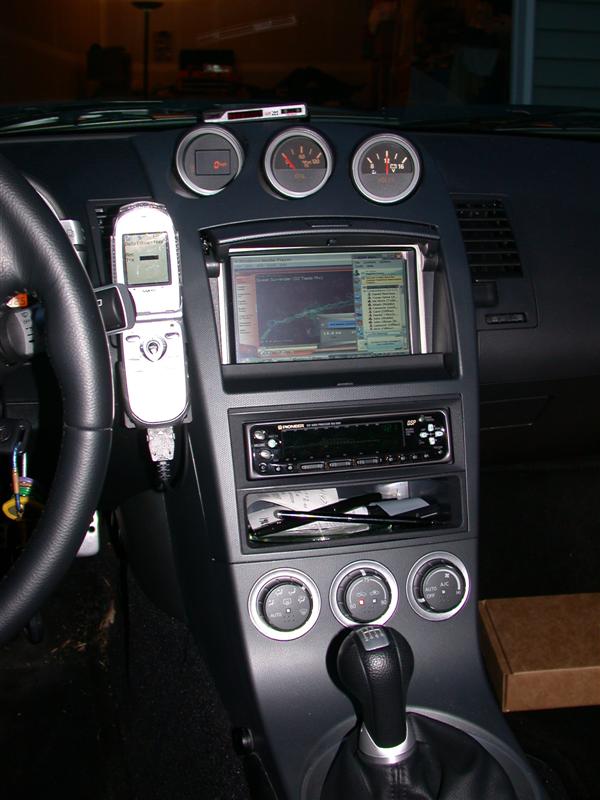
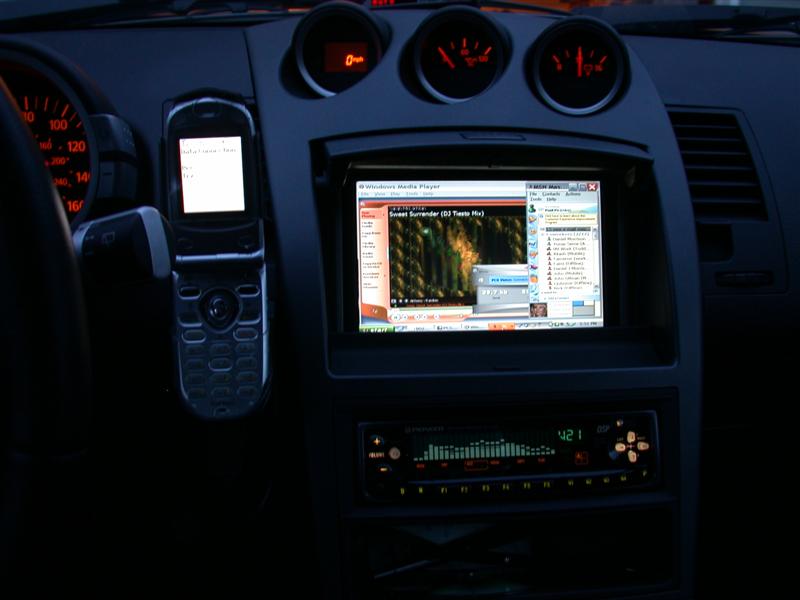
Install the Xenarc/Mount in the dash
-
Reassemble the display housing and dash